

The Ultimate Risk Management Guide: How to Create a Risk Register for Your Business
Managing potential risks is a crucial task for every business. A popular tool to handle this complex task is the risk register, an organized repository that details each possible risk and the steps taken to mitigate it. This article will guide you step-by-step on how to create a risk register, covering everything from brainstorming potential risks to developing mitigation strategies and beyond.
Ready? Let’s dive right into creating a robust shield against your business pitfalls!
Key Takeaways
- A risk register is a central risk log to manage of all possible problems that might hurt a project.
- Each risk gets an identifier, description, category, and owner who is in charge of managing it.
- You rate how likely each problem could happen, then pick which ones matter most to watch out for.
- For every key risk found, you make a risk mitigation plan on what steps can help lessen the harm if it pops up.
- RAID logs advance the risk register by including assumptions you make, issues that come up, and things your work depends on. It’s like a bigger map to guide your work with fewer surprise issues popping up!
How to Create a Risk Register Template
Managing potential risks is a crucial task for every business.
A popular tool to handle this complex task is the risk register, an organized repository that details each possible risk and the steps taken to mitigate it.
This section will guide you step-by-step on what is needed and how to create a risk register template. We will cover everything from brainstorming potential risks to developing mitigation strategies and beyond.
Ready? Let’s dive right into creating a robust shield against your business pitfalls!
Risk identifier
You need a risk identifier to track issues in your business. It’s like a tag for each risk you find. You note down all risks in this tool. You use it as part of the bigger plan to avoid problems during work on a project.
Each time you spot a new problem that could crop up, put it into the spreadsheet or database with its proper tag. This way, you don’t lose sight of any threats to your project’s success.
The primary task of Project Professionals and New Project Managers is managing these risks well from start to finish.
Risk description
You need to write down a risk description when creating a risk register. This includes details about what might go wrong. A good risk description helps your team understand the problem and perform an informed risk analysis.
Let’s say you are working on software for online shopping. One possible risk is “Website Crashes”. The more your team knows, the better they can handle it if something goes wrong. So, in the case of Website Crashes, make sure all information is complete and well-written in the project risk register.
Risk Category
In your risk register, each worry gets a “Risk Category“. This means you sort the worry into a group. For example, some worries might be about money. Others might be about losing time or workers getting sick.
You put each worry in its right group. This helps to keep track of like risks together and manage them based on this risk identification as a group with the project team. You find out what may upset your project and are able to mitigate the risk before negative things happen.
Risk owner
The risk owner is a key part in any project. This person or team knows the most about a certain risk. They watch and handle this risk all through the project. The owner works with others to make plans if the risk happens.
Their job is to keep the risk managed well.
Likelihood
Weighting the likelihood of a risk is key. It tells how likely it is for a risk to happen. A higher score means there’s more chance that the risk will happen. The project team uses this info to make smart plans.
They know what hazards might come up and get set for them in time. So, they manage the risks well and stop big issues from coming up.
Impact
Think about how each risk might change your project. This is the “impact“. A big impact can mess up your project plan a lot, even if happens rarely.
Impacts are not all the same. Some risks might cause small problems. Others can stop your whole project! So you need to think hard and write down what could happen with every risk.
To score the impact of a risk, use numbers from 1 to 5. The number 1 means there’s no real damage done to the project from that particular risk happening while 5 represents severe damage that may halt or end the entire project.
A worm in an apple isn’t too bad if you spot it early, but spots on every apple is huge! Look at these things when making your list of impacts for each possible problem that shows up on your risk register template.
Mitigation strategy
Mitigation is a key part of dealing with risks. It involves creating plans to lessen the harm if a risk happens. A good plan targets both the likelihood and impact of the risk. Each risk in your register needs its own plan.
For example, you can cut down on safety risks by making sure everyone knows what to do in an emergency. Note that not all strategies will be perfect or work every time, but they give a good starting point when problems show up.
Status
You put down the “status” in your risk register. This shows where you are with a risk. Use words like “new”, “ongoing”, or “closed”. The status helps you track risks over time. You change this part as things happen on your project.
If a risk is managed well, it may get the status of “closed”. Updating statuses often keeps the team aware and ready to act.
Date of next review
Every risk register must have a date for the next review. This date tells us when we need to look at the risk again. The project manager or risk owner picks this date. They try to pick a time before the risk might become real.
This lets them plan and act in good time if things change. It helps keep your project safe as you move forward.
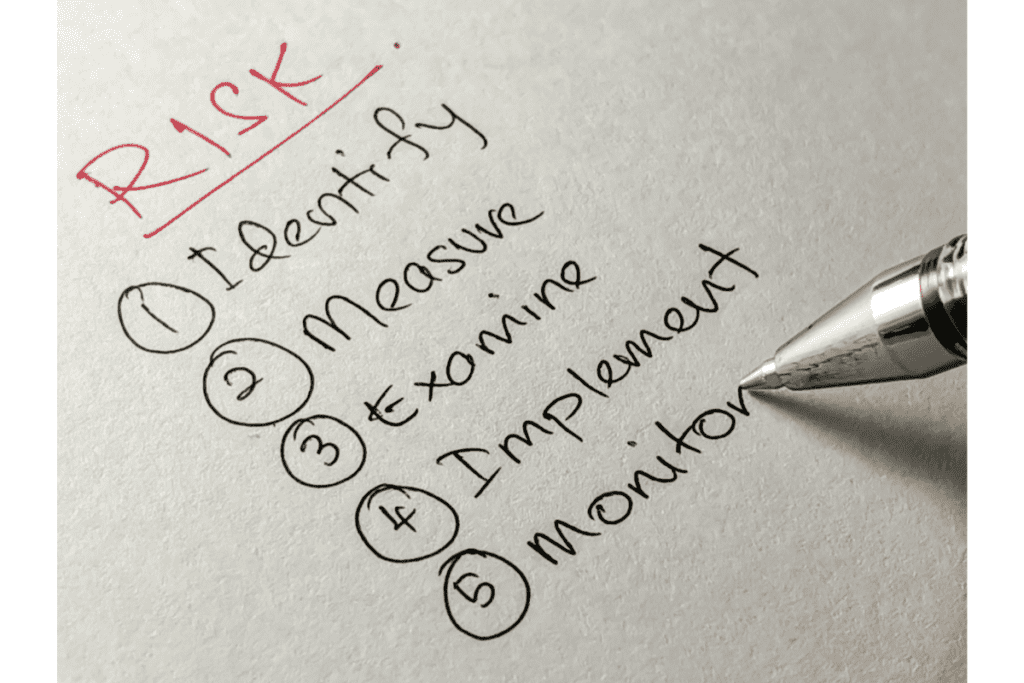
 Steps to Populate a Risk Register
After creating a template, the next step is to populate your risk response plan by first identifying all potential risks associated with your project.
Categorize each risk appropriately based on its nature and source, which may include operational, financial, or strategic risks among others.
The likelihood and impact of each identified risk need to be assessed — this will help in prioritizing them. Following this prioritization, devise necessary mitigation strategies for high-level risks.
Lastly but crucially, conduct regular monitoring of these risks and keep updating the register as deemed whenever changes occur during the lifecycle of the project.
Identify the Risks
To find the risks, we start by thinking of everything that could go wrong. This is done by everyone on the project team. They use their knowledge and skills to think up potential risks to your project.
These might be things like a machine breaking down or an important person leaving the job. It also helps to look at past projects for ideas about what might happen. Once all possible risks are found out, they are added to your risk register as part of your risk management plan.
Assign a Risk Category
Grouping risks into groups is important. Try using risk categories. This makes it easier to handle them. It aids in the analysis of problems too. You can use tools for help in this step.
They are good at sorting out risks, also make sure each risk gets a category assigned.
Assess Likelihood and Impact
You need to gauge every risk in what is known as risk assessment. Think about how likely each risk might happen. This is the “likelihood“. Some risks could come up often, others may be rare. Also, think of what can happen if a risk becomes real.
How will it hurt your project? This is the “impact“. It’s helpful to track this in numbers or words like low, medium and high for both likelihood and impact.
One tried and tested tool to perform this is known as a Risk Heat Map, or Heat Map. This tool visually represents the probability and severity of risks, plotting them on a matrix where the x-axis represents the likelihood, and the y-axis indicates the impact. By using a color gradient, typically from green (low risk) to red (high risk), businesses can quickly identify and prioritize the most significant threats they face. This visual representation aids in decision-making and ensures that resources are allocated effectively to manage potential challenges.
Prioritize the Risks
Start with a list of all potential risks. Once you have them in the risk register you made, you will then need to need to prioritize risk. Look at each one. Find out how likely it is to happen and how bad it would be if it did. Once you determine the level of risk, give each one a score.
Don’t stop here! Your project won’t have time for every risk, so pick which ones are most important. These will take up more room on your plan and your team’s time. Make sure they get the effort you need to keep them from hurting your project too much.
Develop Mitigation Strategies
After setting up your risk register, you need to plan how to handle the risks. This is what we call “developing mitigation strategies”. These are steps that lower or cancel out possible harms from known risks.
It’s important to be clear and specific when you create these plans. You have to make sure they match well with each danger for them to work best. You can use tools like strengthening processes, training staff, or using backups of critical files as ways to stop risks hurting your project a lot.
The goal here is not just spotting dangers but also acting on them smartly and swiftly!
Monitor and Update
Mark dates on your calendar to check the risk register. This helps you note changes in risks. If a risk grows, make it a priority. Tackle high-impact risks first by taking smart actions right away.
For smaller risks, decide if they need changes or not. Keep details listed and updated often for all project members to see and use.
Beyond the Risk Register: The RAID Log (Bonus)
Dive deeper into risk management by exploring the RAID Log.
A RAID log is a project management tool capturing Risks, Assumptions, Issues, and Dependencies. It offers a holistic view, going beyond traditional risk registers, for effective project oversight.
Stay tuned to learn its utility, structure, and when best to deploy this efficient project management instrument.
Introduction to the RAID Log
The RAID Log is a tool that helps manage projects. It lists risks, assumes actions, marks issues, and ties dependencies. This slips off the tongue as “RAID”. With it, project workflows are better because key risks get watched and key points stick out.
The log keeps all these in one place like a map to guide your work.
Project managers use this tool for smarter working ways. Risks go down when you can see them at once glance and track them from start to end. Plus, action items become easy to handle on time before getting messy.
Benefits of using a RAID Log
A RAID Log can make your work easier. This tool helps you spot possible risks early on. That gives you time to set up plans so these risks don’t hurt your job. You can jot down all things that may cause problems in one place – the RAID Log.
Plus, it’s not for just one person! All team members can use it and share what they find out about potential issues. With a RAID log, fewer surprises pop up because we’re ready for them ahead of time!
Structure and Components of a RAID Log
We need to know what a RAID Log is. A RAID Log helps you track and fix problems. It’s like a list of risks, tasks, issues, and choices. These are the parts that make up the RAID log:
- Risks: This part shows uncertainties that could cause problems.
- Actions: Here, we write down what steps we must take to handle risks.
- Issues: In this sector, we note down any roadblocks on our path.
- Decisions: This unit records choices made about how to move forward.
When to use a RAID Log
You use a RAID Log right at the start of your project. It helps you keep track of everything that is going on. The log can be used to note and look at risks, assumptions, issues, and parts dependent on other things.
Project leaders often use it to study and handle these areas. With a RAID log in hand, staying ahead of problems becomes easy for all workers involved in the project!
What is Not Included in a Risk Register
In this section, we will delve into the elements that are not typically housed within a risk register including personal biases, as these can sway objective assessments of risk and cloud judgments.
We’ll also clear up commonly mistaken differences between risks, issues, and assumptions to assure an accurate understanding of what each term entails in the project management arena. This will help ensure your risk register remains focused, informative, and void of unnecessary data muddling its purposeful intent.
Avoiding personal biases
Personal biases can mess up your risk register. These are views you form that don’t come from facts. They show what you feel, not what is real. Biases can make you see some risks as big when they are small.
Or miss a risk because you think it is not there. You should try hard to put these biases aside when filling out your risk register. Try to use facts and data in making decisions about risks instead of personal feelings or beliefs.
This makes sure the level of each risk matches its actual threat to the project.
Clearing differences between risks, issues, and assumptions
Risks, issues, and assumptions are three different things. A risk is something that could happen and might be a problem in the future. For example, there may be a chance of heavy rain later this week which might stop you from playing outside.
An issue is a problem that is happening right now; it’s not something we think may happen but an actual problem at hand. Let’s say it’s raining hard right now so you can’t go out to play; that’s an issue.
Assumptions are like guesses we make before starting work on a project. These guesses help us plan our project better since we don’t know what will really happen until the time comes.
Like if your family plans to have lunch at the park tomorrow, they’re assuming good weather—this assumption helps them decide where to eat.
Knowing these differences can help you handle project risks better when using a risk register!
FAQs
1. What is a risk register in project management?
A risk register in project management is a document used to identify and manage risks. It helps plan for risk and includes data like the description of the risk, its level, and its owner.
2. How do I create one?
To use a risk register, start by identifying risks that might affect your project. Include items such as the likelihood of the risk occurring or the impact of each identified risk event on your plans.
3. Can I use a template to make mine?
Yes! A well-done project risk register template can guide you through putting together all important parts: from simple identification to deep quantitative/qualitative analysis.
4. Who runs this in business set-ups?
Risk ownership forms part of creating registers with care assigned—Usually taken up by Risk Management Professionals who ensure each owner effectively monitors their respective positions.
5. How does prioritizing come into play here?
Line up all noted issues based on priority; essentially scoring them against factors including their possible effect, probability and alike.
6. What happens when they become real?
If any noted-down risky situation indeed turns real; there’s typically an outlined response strategy ready at hand (such as avoiding\mitigating) guided by prior assessments conducted upon creation.
Conclusion
Making a risk register is key for your business. It helps you know and handle risks. You can track risks, act on them, and keep work going well. Don’t fear risks; manage them with a good risk register!